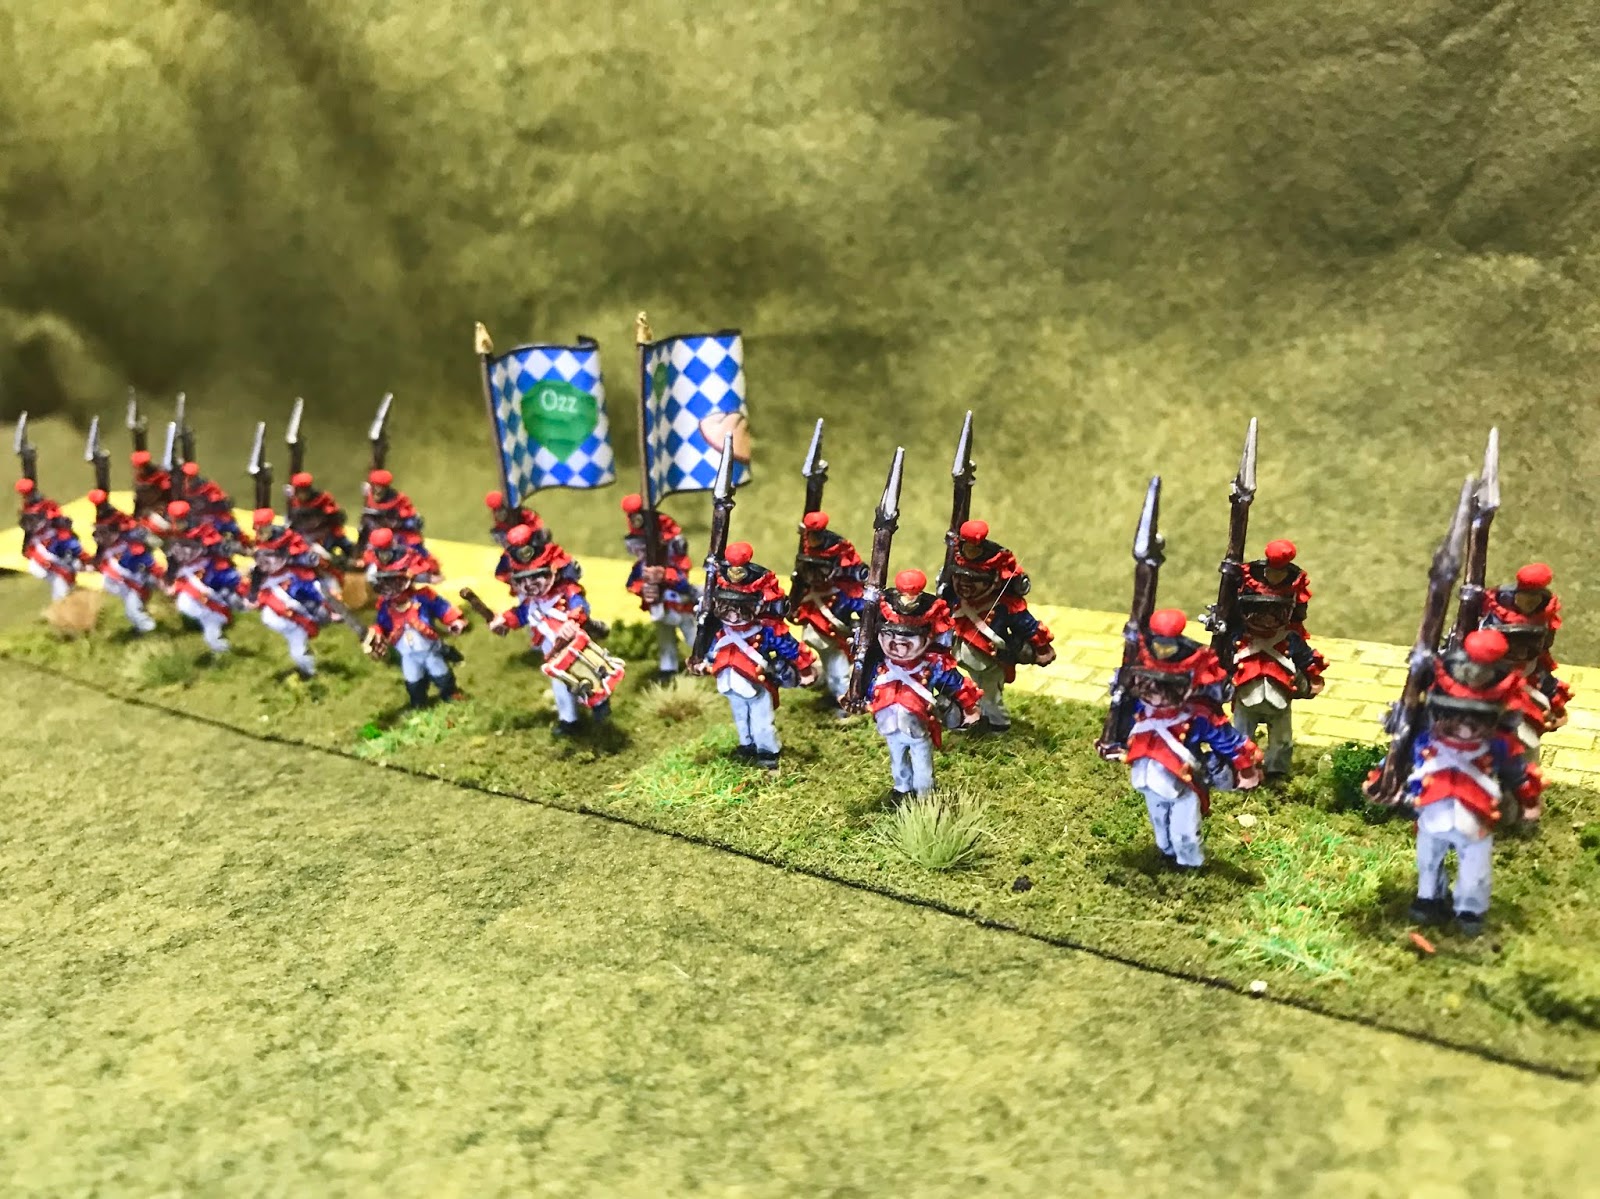
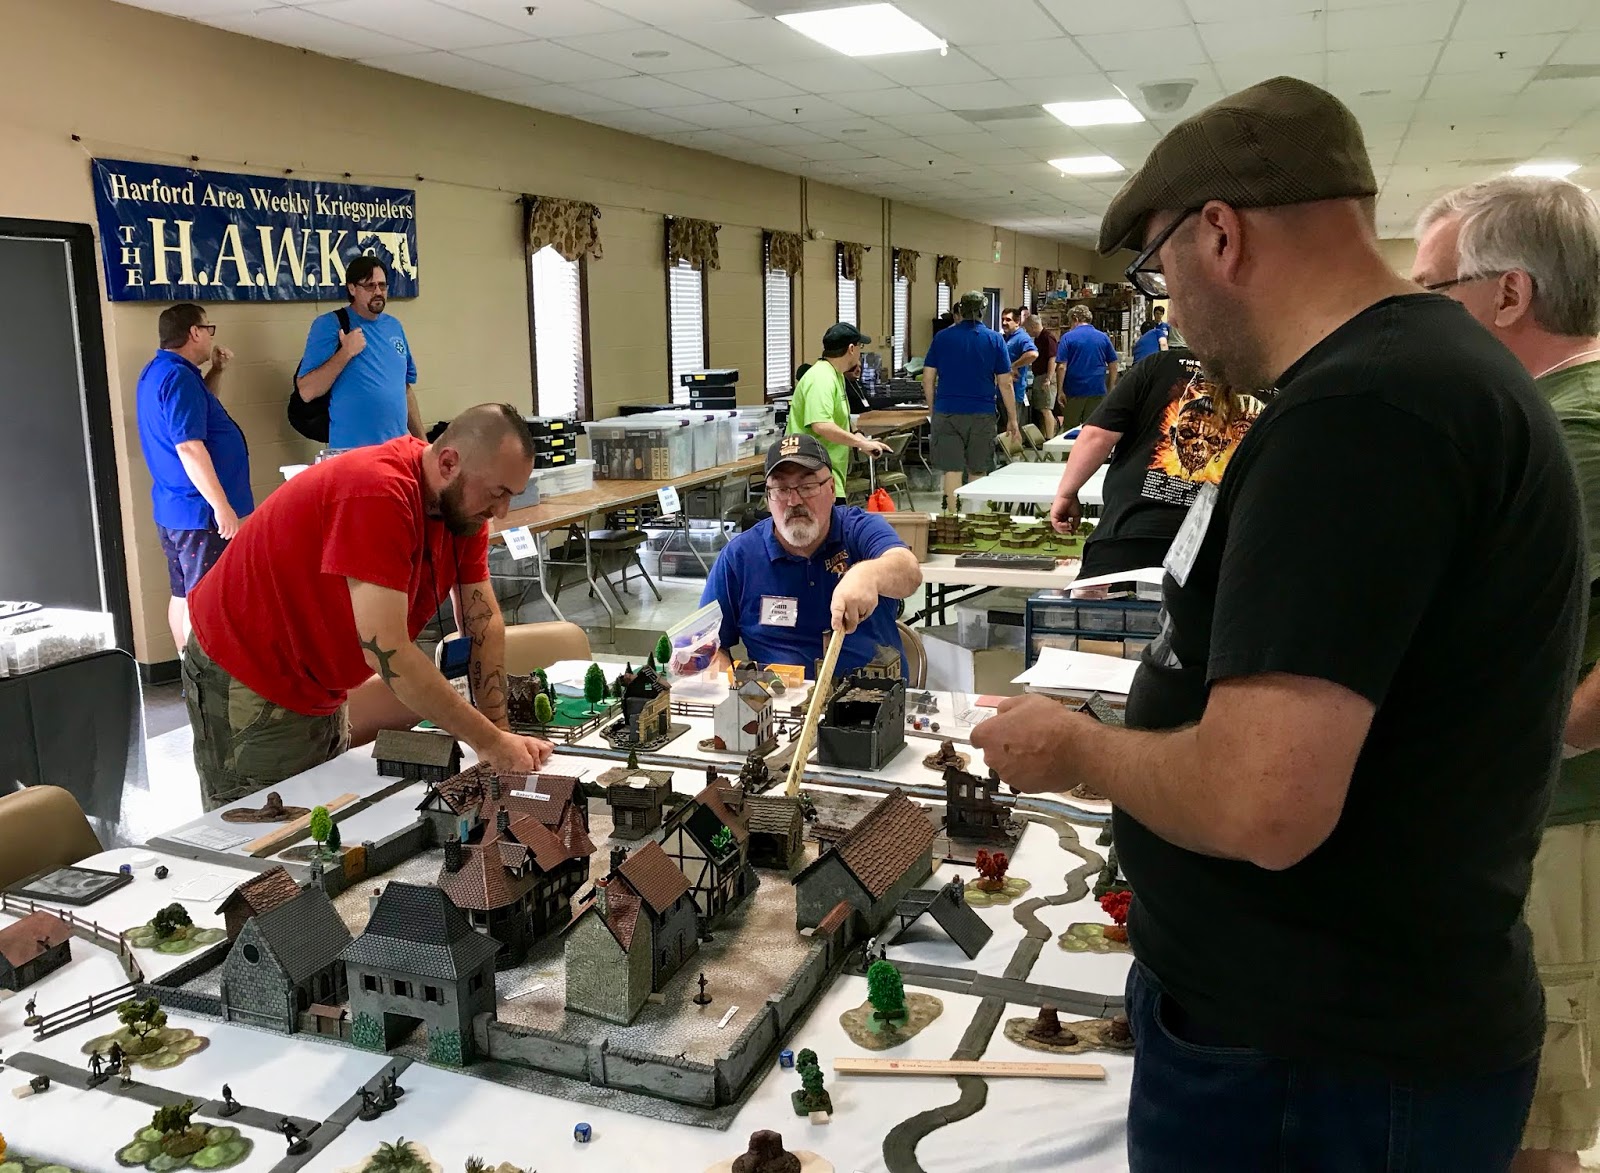
This past Monday I was able to visit with fellow HAWK, Rob Dean, to have another go at "A Gentleman's War" rules by Howard Whitehouse. We decided we'd make a day of it, and have 2 battles with a break for lunch between. Like my first try of the rules, back at the end of July (
See Blog Post here), we once again used our 40mm homecast Imagi-nation armies; only this time I was facing Rob's Schoeffen-Buschhagen army, and not his son's Wachovians.
We wanted to try some of the rulebook scenarios this time, so we rolled for random forces, and then picked a suitable scenario (based on the armies we generated) for the first action. Rob's force seemed to be of a "Flying Column" nature, and mine was a more balanced Infantry/Cavalry force (though lacked artillery), so we settled upon the Isolated Detachment scenario.
Rob had set up the terrain beforehand, in a pleasant countryside layout. Now with a scenario in hand we did a quick arrangement of some of the terrain to create an enclosure for the Isolated Detachment to defend, and we were ready to go. We made the mistake, as will be seen, of rating the walls of the enclosure as high walls and heavy cover
On to the action:
 |
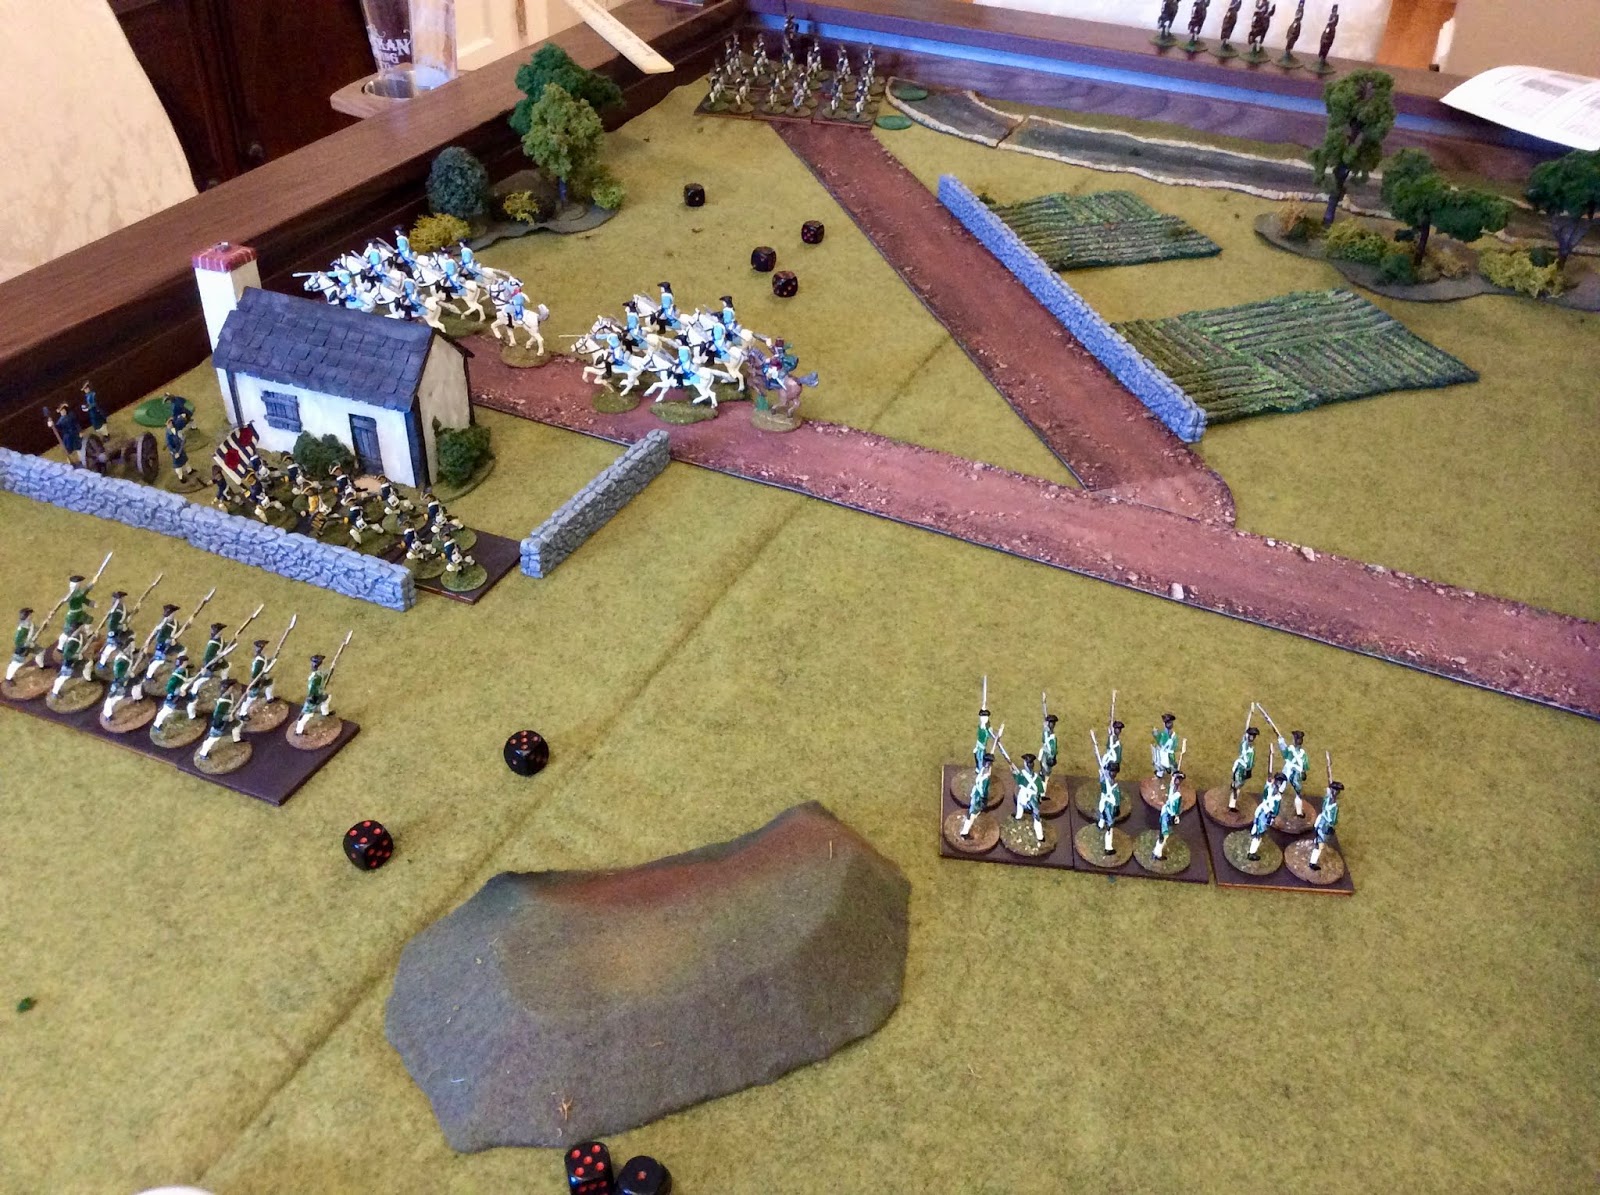
| I was immediately hampered by an inconvenient set up position, hemmed in by two woods, with only the narrowest of clearings between them. I opted to put my cavalry in the clear terrain to facilitate them getting a quick jump off, and assigned my infantry the task of slogging through the woods. |
 |
| Things got off to a rough start, as my cavalry, brigaded under General Grotsky, were slow to build up speed (poor movement roll) and quickly came under fire from the gun and infantry in the enclosure. The 25th Hussars began taking casualties. Meanwhile the infantry plodded along, emerging from the woods in a state of disorder. |
 |
| The infantry now came under the enemy guns, and the Hawks' 1st Company began taking losses. The cavalry by this time had cleared around the enclosure, and attempted to sweep in behind them before reinforcements could appear. The Hussars had been badly mauled at this point by the cannon and long range infantry volleys from the enclosure. The sole survivor continued on with his brigade. Still no sight of enemy on the horizon so the cavalry pushed on. |
 |
| My infantry moves closer to the walls, and the losses mount. Unfortunately, I do little damage to the defenders behind their well-built walls. The cavalry moves into position to strike, though they must move fast, as the first Schoeffen-Buschhagen reinforcements can be seen coming down the road in the distance. |
 |
| Bravely the first squadron of Dragoons charges the S-B gun. They take half casualties from the canister fire, but continue on. A swirling melee develops around the guns, and two more of the horsemen fall, but the gunners take casualties too and the survivor abandons the gun. With one remaining figure, the Dragoons claim their hard-won prize. |
 |
| The second squadron of Dragoons does not fare so well. The enemy uses a hold card allowing him to form square, and issues long range fire. One trooper falls from the volley, and for the rest charging the wall of bayonets goes poorly. The surviving horsemen Run Away in disorder. |
 |
| By now my remaining infantry reaches the enclosure. One company has been destroyed by fire on the way in, and the second has taken 1/3 losses. Hoping for a miracle, they throw themselves at the wall, but the results are inevitable. By now the reinforcements have entered the field in mass, and with my cavalry and infantry shattered , the one good infantry company prepares to form a rearguard as I call for a general withdrawal from the field. |
After our lunch break, we came back for our second engagement. This time, we picked a scenario first and chose forces based on the scenario. We chose the Capture the Bridge scenario, and decide, from a narrative perspective, that it is the start of the campaign season and my North Polenburg forces are trying to seize important maneuver locations in preparation for a general attack. I failed at clearing the important road juncture in the first game, so now it becomes vitally important that I secure the bridge crossing if I hope to have any chance at moving my armies quickly into enemy territory for my main attack.
With a scenario in place, Rob opted to roll for a "Garrison" army, and I did a "Main Body". We weighted my army, as attacker, with 9 units, against Rob's 6 units. Then, after we had deployed, we decided Rob's troops looked exceedingly vulnerable sitting out in front of the bridge without any cover, so we agreed to let him place some defenses. Here again, in retrospect, this was a slight mistake, as we once again rated them as +2 Heavy Cover.
 |
| Initial deployment. Once again I am plagued by a terrain-filled deployment area, having to set up between a couple woods, and a farm. This causes me to have to stack some of my infantry for entry. I set my cavalry on my far left to try and take advantage of the open area, and the bulk of my infantry on the right in hopes they can swing around the right of the defenses. I set one battery between the two groups of infantry and the other on the left between the cavalry and the end of the infantry line. I set one general to operate a cavalry brigade on the left, and the other to operate an infantry brigade on the my right. |
 |
| My attack sets off. On my left the cavalry pushes across the river, as the cannon on their right does a series of prolong and fire moves. Rob's light infantry and gun on his right fall back in good order as my cavalry advances. On my right, I once again slow down as I try to shake my stacked infantry out into a line as they emerge disorganized from the woods and farm. My cannon with the infantry also does prolong and fire moves, but does nothing against the defenses. Rob's gun however begins to chip away at the Queen Jennifer Regiment in the center. |
 |
| The Queen Jennifer Regiment in the center continues to push forward, taking increasing casualties. The second company breaks and flees back to the woods. However, to the left of the QJ regiment, I have managed to get one of my cannons into position in a field behind a stone wall, where it has an excellent flanking field of fire on the enemy defenses. Meanwhile, my cavalry has pushed across the river, but long range fire from their cannon, combined with an orderly firing withdrawal of their light infantry, has taken its toll on the Dragoons, who are reduced to one figure. Rob withdraws his half section of Lights on his right flank and send them to rejoin the other half of their unit over on the left, as my Infantry line begins to advance and nears the woods on the left flank of their defenses.. |
 |
| The 1st Co. of the Hawks Regt. finally gets close enough to the woods on the enemy left to charge their Lights. The Lights issue a volley and flee back out of the woods. I capture it, but am disorganized. The Hawks 3rd Company has been reduced to a third of their strength under the withering fire as they near the breastworks; while the artillery accompanying the regiment continues their series of prolongs and fires. Meanwhile, over on my left, the cannon behind the wall continues to pound the flank of the enemy works, inflicting constant casualties on the defenders. However, with the stalemate between my Hussars and their Light Infantry, their cannon on their right decides to turn and lob long range counter battery fire at my gun in the field; first one gunner is hit, and then a lucky shot hits an ammo chest and takes out two more in one turn. Only one gunner is left to man the gun and his time is limited. |
 |
| Foolishly, I try to break the stalemate, and send in my Hussars. The Light Infantry form square, and the result is devastating on my horsemen. |
 |
| Things go poorly on my right as well, as the enemy Light infantry that fell back before my charge, now form skirmish and reenter the woods, a volley sends my disorganized troops fleeing out from the trees. |
 |
| I manage to get my gun all the way up to their works, and a final point blank volley sends the defenders running away. But it's too little too late. |
 |
| As I try to maneuver my one good Infantry company into position to take the abandoned defenses. Their Lights form to defend them, and their infantry that fled thinks better of it, and is already returning. My chance is lost, and with my troops too weakened now to press the attack much longer, and the daylight hours fading, I once again sound the withdrawal. |
An enjoyable pair of games! I've learned some good lessons about heavy cover in this game, and the abilities of Light Infantry. I think we had rated the cover in both games as +1 I would have had a better chance. But such is the fortunes of war.
We now figure my North Polenburg forces are falling back to lick their wounds, and that since my initial attacks have been beaten back, it is Schoeffen-Buschhagen's turn to seize the initiative. I must strengthen my frontier as I expect their reprisal any day now.