After the final game of our 2017 Frostgrave Campaign, which we played back on December 9th, (See report here:
The Final Expedition), we ran a test game of Ghost Archipelago to get a feel for how those rules play. Out plan is to base our 2018 Campaign on Ghost Archipelago.
We had 4 players take part in the test game, and we used a 6' x 3' table. For our Heritors we rolled their abilities randomly, but we picked our Wardens and which spells they had.
 |
| A view of the table. My set up position was on the lower left, beteen the large stump and the big skull rock. |
I used the warband I plan to use for the actual campaign. My Heritor had
Daze as his primary ability, and then
Evade,
Stand Firm,
Surge, and
Disarm. I chose a Vine Warden, and gave her
Brambles,
Plant Walk,
Warp Weapon, and
Summon Animal. The Specialists on my crew consisted of: a Hunter, Pearl Diver, and 2 Archers. The 4 regular crew had one with a hand weapon, and three with a 2-handed weapon.
 |
| My initial deployment. On the left is my Warden, Pearl Diver, Archer and Crewman. On the right is my Heritor, Hunter, Archer, and Crewman. In the center is the two remaining Crewmen |
On the first turn, everybody basically advanced. My Hunter along with an Archer and a Crewman headed off to gather a treasure by a gargoyle statue, just passed a large stump on my left; while most of the rest of the team forged ahead to cross a shallow water river to our front. On the far side was an ancient temple that had the central treasure on the near corner of it's second tier. My Warden moved to the edge of the river and cast
Brambles to block the way of an enemy soldier from easily getting to a treasure located under a ruined archway off to my left.
 |
| My opening moves. Near the upper left corner can be see the Hunter, Archer, and Crewman going for the treasure by the gargoyle statue. The central treasure can be seen on the second level of the temple near the right edge of the photo. |
On turn two, 2 Giant Bees emerged near my rear area, from the giant stump, as a result of someone picking up a treasure and making the roll for a random encounter. Their loud buzzing alerted my Hunter and Archer, who fell back from helping recover the treasure to shoot at them. My Hunter killed one of them with a single shot, but in the Creature Phase, the second attacked my Hunter and did damage, causing the Hunter to become poisoned. This meant she would only get one activation per turn for the rest of the game. The Crewman recovered the treasure. My Warden cast
Summon Animal, and attracted a Snapping Turtle on the far side of the river along the right table edge.
 |
| Giant Bee attack! |
The rest of the crew reached the far side of the river, while the Pearl Diver who crossed fastest due to his Amphibious trait, headed down the bank on the right to a treasure near a frog statue.
 |
| Midway through the battle. |
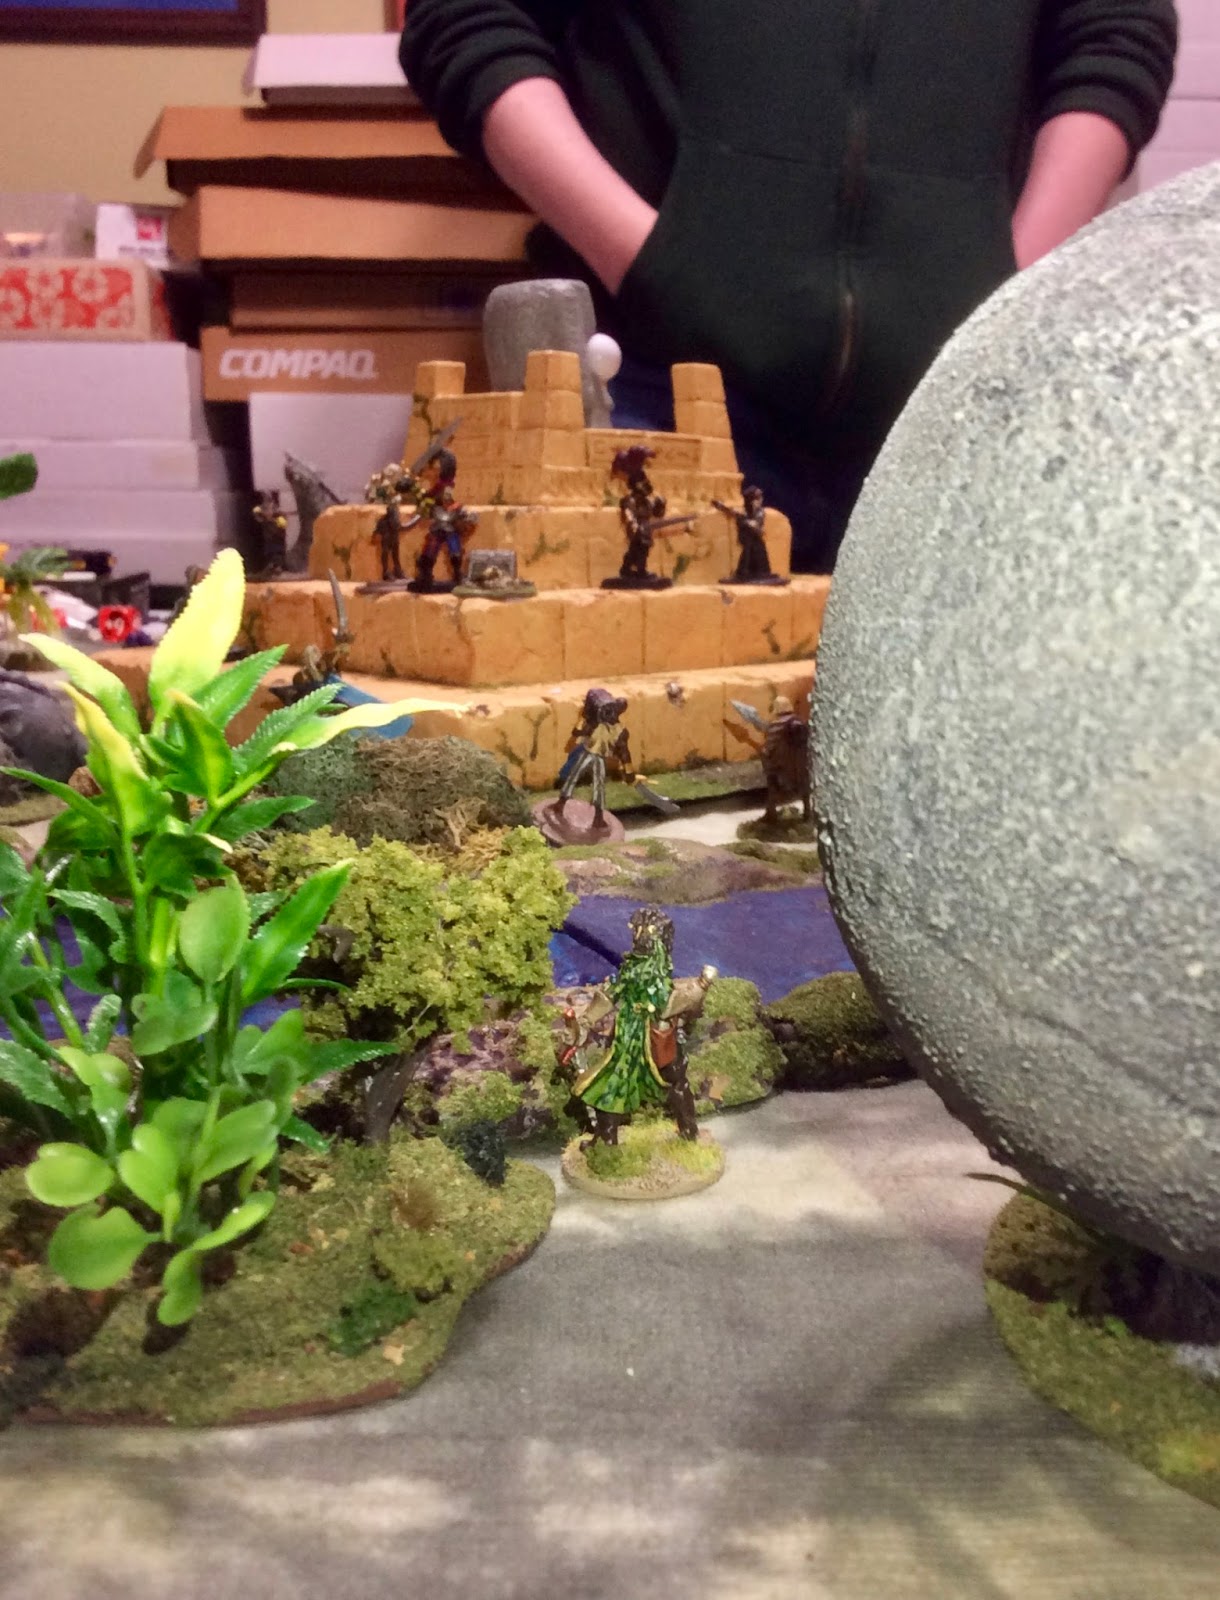
On turn 3 I just started contacting the enemy on the temple, and both sides jockeyed for position. My Warden on the far bank cast Warp Weapon on one of the enemy figures. My Hunter and the Archer dispatched the last bee. The Pearl Diver reached the treasure, but was in danger of being overtaken by an enemy soldier. Luckily, the Snapping Turtle my Warden had summoned, moved in and was able to engage the opponent.
 |
| My Warden keeps in the shadows while offering her support. |
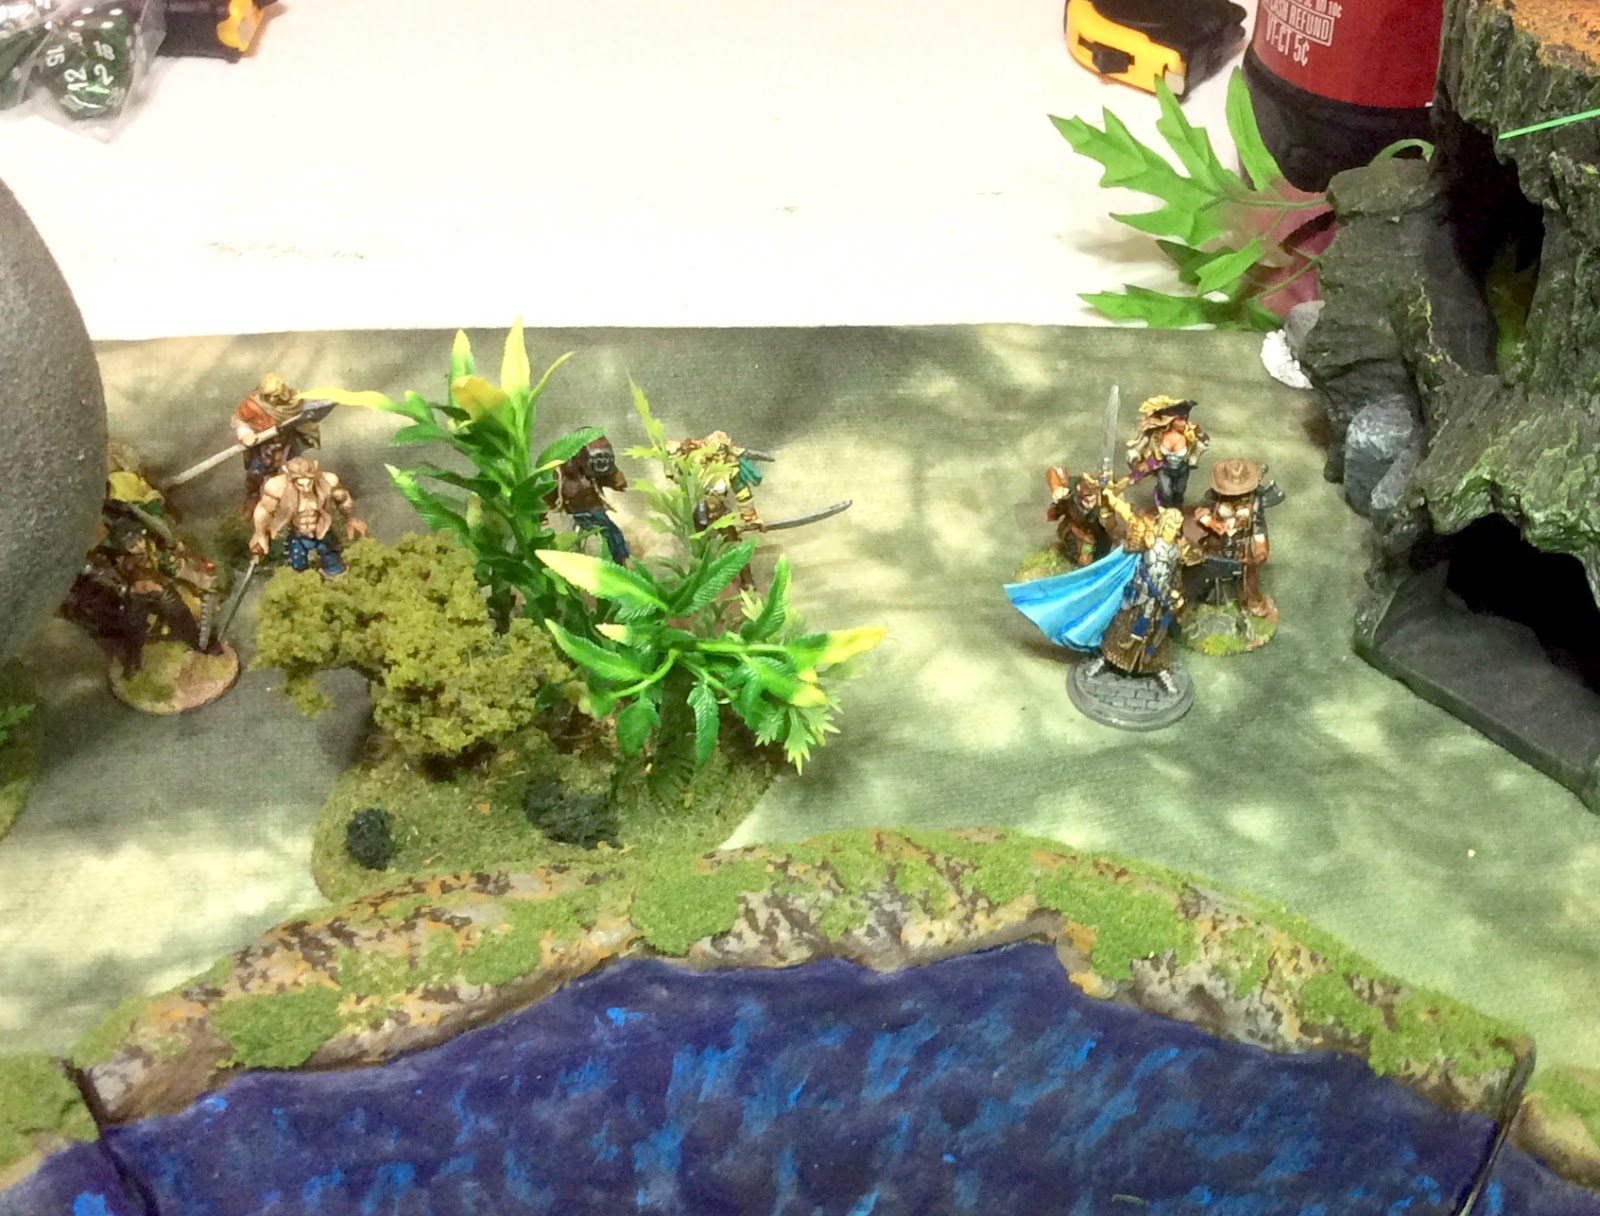
On Turn 4, My Heritor tried to
Daze an opponent who had moved into contact during the enemy's activation, but the enemy passed his Will roll. That didn't deter my Heritor though as he then dispatched the enemy anyway by rolling a 20. Feeling momentum from the kill, he used his
Surge ability to charge against the nearby enemy Tomb Raider; but the Tomb Raider won the attack, damaging my Heritor. My Warden tried to
Warp Weapon on the Tomb Raider, but failed.
The Pearl Diver swam back over the river, while the Turtle munched on the enemy soldier. My second Archer provided covering fire from the friendly side of the river.
 |
| The Pearl Diver falls back with his treasure. In the background on the right, the Snapping Turtle (proxied by an Ice Toad!) attacks an enemy. |
Turn 5 was the height of the battle, with 3 of my crew and Heritor on the ancient temple. Unfortunately, I was outnumbered, and quickly started loosing folks, especially from the enemy Heritor. My Warden tried to cast
Brambles to hinder enemy movement on the temple, but she failed.
 |
| The fight on the temple. |
By Turn 6, all three of the crew on the temple had fallen, and my Heritor realized his chances at the main treasure were gone, so, badly wounded, he extracted himself from the fight using his
Evade ability
, and headed back over the river under cover of his archers. The Warden cast Warp Weapon, one last time, on another enemy.
 |
| End results. |
In the end I had two of the basic treasures, and three of my basic crew had fallen. My Warden had successful cast 4 spells. My Heritor had killed one opponent.
We all really enjoyed the game. It definitely has a distinctly different feel from Frostgrave, being much more combat centered. Using your Heritor effectively is going to take a bit of a learning curve, as I can see that just tossing him into battle isn't going to work. You really need to think about how you use his abilities. After the game we decided that for the actual campaign we will allow the players to select one Heritor ability f their choosing, but they will have to roll randomly for the rest.
I think I'm going to keep my warband as it is. The only change I'm going to make is to replace my Warden's non-branch spell of Summoning Animal to Water of Life. While the ability to call that Snapping Turtle definitely helped me secure the second treasure; I saw the enemy's Warden constantly healing their Heritor; and while mine had to limp off the table at less than half health, by game's end my opponent had healed theirs back to full health. I think that ability will be more useful early on in the campaign, and she can always learn Summon Animal later.


No comments:
Post a Comment