Showing posts with label Terrain. Show all posts

Thursday, April 20, 2023

Scratch Built Desert Buildings for "Wars of Ozz"

     As I prepare for my War of Ozz desert games with the Whim-Whim and Temujicans (Eastern Nomads) I started to think about suitable buildings to use on the table.  I wanted something vaguely Middle Eastern looking, but with an Ozzian twist.  I remembered some barbarian huts I had made for a fantasy game several years ago for which I had used seed starter pots as the basic structure, and I thought I could use that idea for Ozz. 

     So, I ordered a pack of 3.15 inch starter pots off Amazon and I got to work on a prototype.  I cut a door and window, as well as a small hole n the top; and then glued the pot to a cork coaster from a pack I picked up at my local grocery store. And also glued a small smoke pipe in the top, cut from a paper straw.  Then it was a simple matter of priming dark brown and giving it a suitable drybrushing and adding some details.   


      I finished a first prototype yesterday, and I'm pleased with how it looks.  Now I want to build about a half dozen more.  I may try some variations to mix things up a little. 


Monday, April 10, 2023

Colorful Palm Trees for "Wars of Ozz" From the Dollar Tree

A couple weeks ago I found some interesting plastic "succulent" plants at my local Dollar Tree, and I thought they would make excellent colorful palm trees for my "Wars of Ozz" games.  I'm planning to do some games set in the Great Impassable Desert of Ozz, and thought these would make great terrain for those set-ups.  Over the weekend I finished getting them based up, and I thought I'd show the results.  Some of the plants had central heavy wire in the stem, and some had nothing in their stems; so I drilled appropriate holes into 2" MDF wood bases and hot glued the trees in place.  I then covered the bases in some sand and gravel and a little flock.  

    I also based up a couple other interesting plastic plants I had put aside long ago.

  They are shown with the first two bases of Whim-Whim Spearman I have finished painting, to give a sense of size.


Monday, June 11, 2018

Temple of the Sorceress of the Sea: A Ghost Archipelago Terrain Build

        Over the past few weeks I've slowly been assembling and painting a terrain piece made up of various toy and craft bits, that I call the Temple of the Sorceress of the Sea.
     It all started back at Cold Wars in March, where I found a large action figure of a unidentified female sorceress or superhero.  So I stacked some pieces together, not gluing anything, just getting a feel for how I like the arrangement.  The base is a sand mold form the Dollar Tree, and then figure is standing on an orange juice lid and a wooden base.

     I liked how it looked, so I began the assembly. I mounted the sorceress to the wood disc by putting screws up through her feet.  I then glued the wood disc to the juice lid.     After that, I superglued together the scepter, and added a little seashell to the top to help sell the sea soreceress theme.  I also superglued all her arm and leg joints to help hold them in place.

      I had ordered a pack of cheap sea creature charms on eBay for this project, and glued some as decorations onto the base .   At that point I decided I wanted to get some small conical seashells to top the crenelations on the four corners.
      They didn’t have the ideal size I was looking for, so I settled on something a little larger. I had to trim the bottoms down anyway so they’d sit flat, and that reduced their size.
I then glued them to the four crenellations, and put it all together to see how it looked.
  I then primed the top piece with Army Painter "Necrotic Flesh"  (It's my go to spray primer for unknown plastics), and I primed the temple with Rustoleum Paint and Primer "Flat Black".  With paint on it, I realized there were a couple problems I needed to correct on the statue; first there were noticeable gaps between her thigh joints and where they connect to her lower body which I needed to fill, and secondly I noticed the hinges on her elbows were very obvious now and needed to be covered over.  So I greenstuffed the elbows and thigh joints of the statue, as well as a large gap in one of the shell crenelations on the temple. I also applied a Mod Podge coat to the temple base to give the smooth surface some texture.
      Then, when the Mod Podge dried, I did the dry-brushing on the structure and the statue base.  Dark, medium, and light gray; followed by a last white highlight application.
     I then painted the statue, crenelations, and sea life decorations all with a verdigris bronze look. Then I did the doors as weathered wood, and the chains and hinges as weathered metal.
     Here is the final results.

      I always pictured in my mind, the temple standing above a cliff face with the giant statue looking out over the waves.  There's a door in the back for access, and another on the front which, drawbridge style, opens out over the sea providing a platform for the acolytes to stand on and do their magic.
     I'm really pleased with how this turned out.  I may add some vines or such to the walls, but I would hate to mess it up some way.

Monday, June 4, 2018

Dinosaur Nests for Ghost Archipelago.

   Knowing that we'll need some dinosaur nests for one of the scenarios in the Ghost Archipelago core rulebook, I deiced to devote some time to making some.
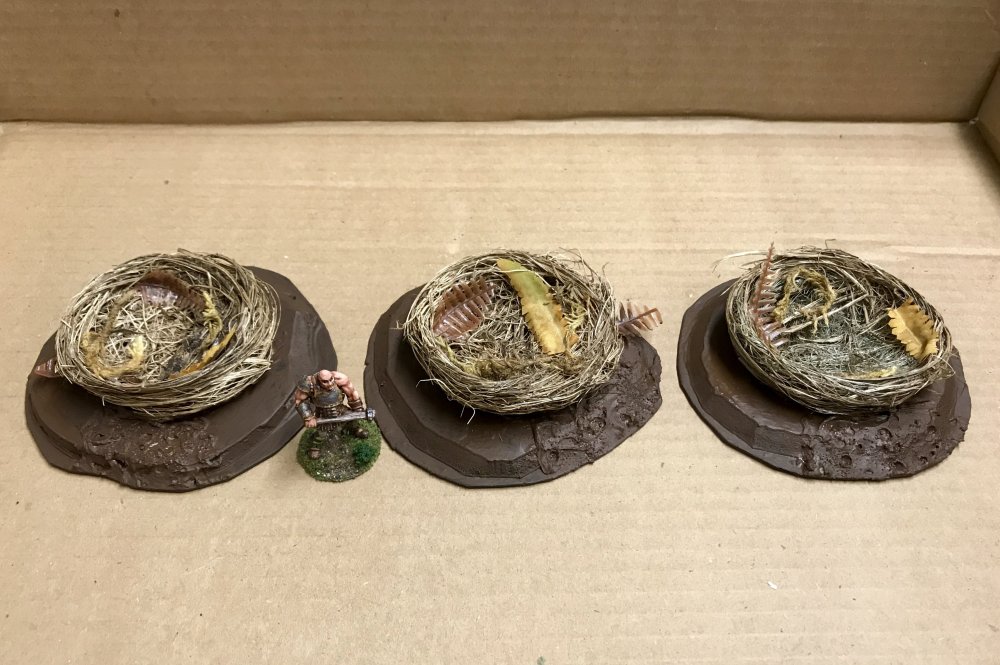
    To begin with, I  bought three craft birds nests that are approximately 3” across from my FLCS.
     With those in hand, I cut down 3 CDs, and then cut some foam core to fit on them.  I glued the first one (upper right in photo below) before I realized I wanted the nest to sit down more in the foam core, so they'd appear as if they were in depressions, rather than be tall and stick up; so I had to carve a hole in that one after the fact.  The other two I was able to cut a hole in the center of the foam core before I glued them to their CD bases.
 After gluing the foam core to the CD's I ran some Mod Podge around the exposed edges of the foam core.  When, dry, I primed the bases black.
      I then started gluing the nests to the bases when the primer was dry.
      These are the eggs I planned to use.  I've had these for forever (they were actually buried away with our Easter decorations), but thought they'd be ideal for dino eggs.   Best of all, I wouldn't have to paint them! 
       When the bases were all glued and the glue was dry,  I added an area of churned up mud on one side of each nest, figuring there would be a path where the mama dinosaur moved back and forth dragging the nest materials.     I used some texture paint I had, and sprinkled a little sand in it.
 I glued some fake fern fronds and sphagnum moss to the nests in an attempt to make them look a little less bird nest-y.  When dry, I base coated the bases with some brown paint.
   I then drybrushed the mud area, and flocked the bases.  Afterwards, I glued on an assortment of vegetation.   I decided to not glue the eggs in, so they could actually be removed during a game.


     I'm really pleased with how these turned out!  They're a little big, but I don't think unbelievably so; particularly when considering some of the big dinosaurs in Ghost Archipelago like the Monarch!

Tuesday, January 9, 2018

Quick and Easy Vine Warden "Bramble" Spell Effects

   We are starting our new Ghost Archipelago campaign this month, and I have chosen a Vine Warden to be in my crew. One of her spells is going to be Brambles, which creates a thorny hedge-like barrier, 6 inches long, 1 inch high, and 1 inch wide.  To make such a terrain piece to use for the spell effect, I borrowed an old technique I learned back when I was actively playing The Sword and the Flame Colonial era rules several decades ago: Colonial players would make models of Zariba, a real-life thorny barricade that soldiers and natives used in the Sudan as a makeshift defensive works, from luffa scrubbing sponges.
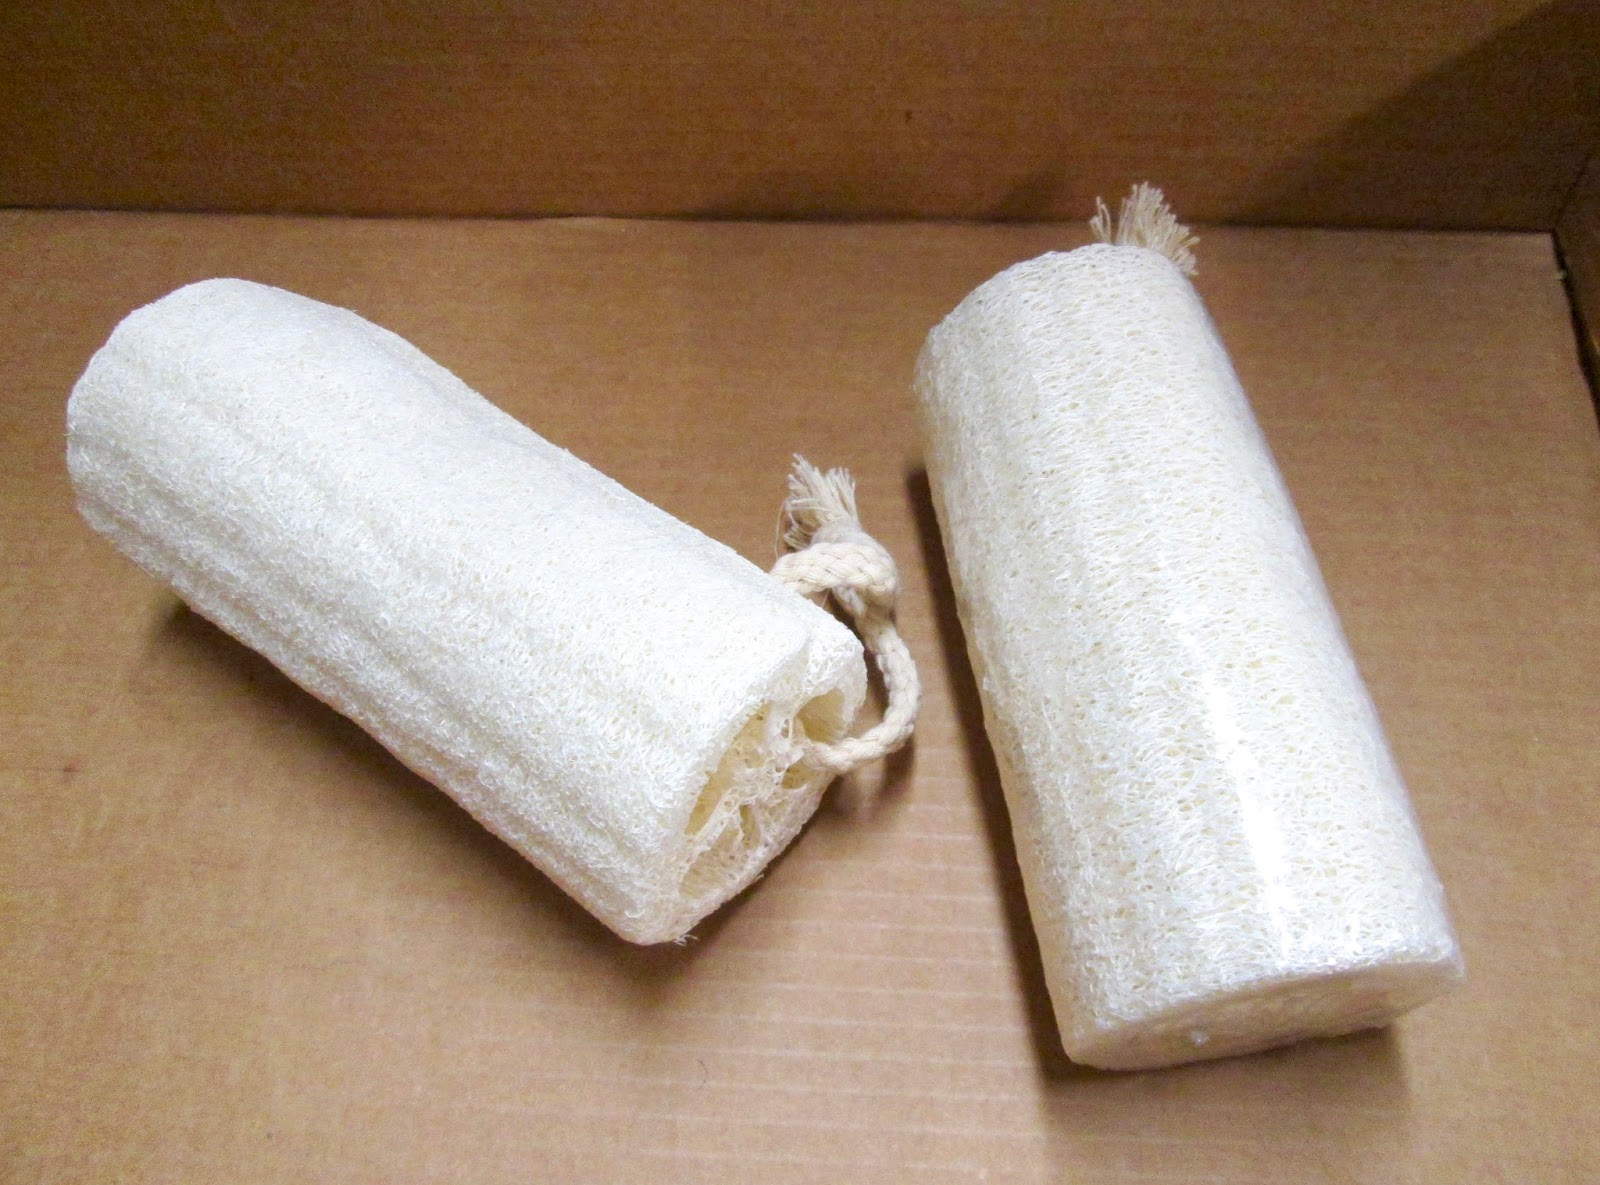
     So I ordered a set of 6" luffa scubbers off of EBay for just a couple bucks.
     Most of these have three central spines in them, and these were what I was going to use to make my Brambles markers from. I took one, and using my hobby knife, carefully cut out one of the central spine sections, leaving a base about an inch wide.
    This is what you get when you cut out the section.  The first one is hard to do, and often comes out a bit uneven.  The other two are a lot easier since you already have the luffa opened up.
     The part I intended to use as the bottom of the Brambles marker has a natural curve to it from the outside of the luffa, so the next thing I did was to use my hobby knife to cut a layer of the curve off, so the spine would sit flat.
     I then glued that flat base to two black-primed 1" x 3" steel bases, set end to end, to make a 1" x 6" base.
     I then gave the Brambles markers a good heavy coat of flat camo dark brown spray paint.   After the spray paint base coat was dry, I drybrushed some lighter brown and tan highlights.  When the painting was dry, I glued a a brown and green flock mix along the bottom to blend the edges in with the table top, and help the illusion that these were bursting up out of the ground. After that, I brushed some Elmer's glue along the length of the brambles and sprinkled them with some coarse foliage to make patches of leaves on them along the "vines".
     I'm really please with how these turned out!  And I'm looking forward to using them to thwart my opponents in our campaign! :)

Thursday, September 7, 2017

Frostgrave "Thaw of the Lich Lord" Bone Wheel: Simple Halloween Scratchbuild

    This past week I assembled a prototype Bone Wheel terrain piece for the "The Bone Wheel" scenario in the Frostgrave supplement book, Thaw of the Lich Lord.    Since we usually have 6-8 players in our Frostgrave Campaign games, I intend to make three more of these now that I have finished the prototype.
     The scenario describes the Bone Wheel as, "A gigantic wheel, sitting some eight feet off the ground on a central axle...the wheel is constructed of human bones, bound together with old leather straps..."   I knew there was no way I was going to make a big wheel out of 28mm bones, as it would take hundreds, so I headed to the local Dollar Tree store in hopes of finding something that would be bigger than 28mm but not so large that it wouldn't look too out of place with 28mm scenery and figures.
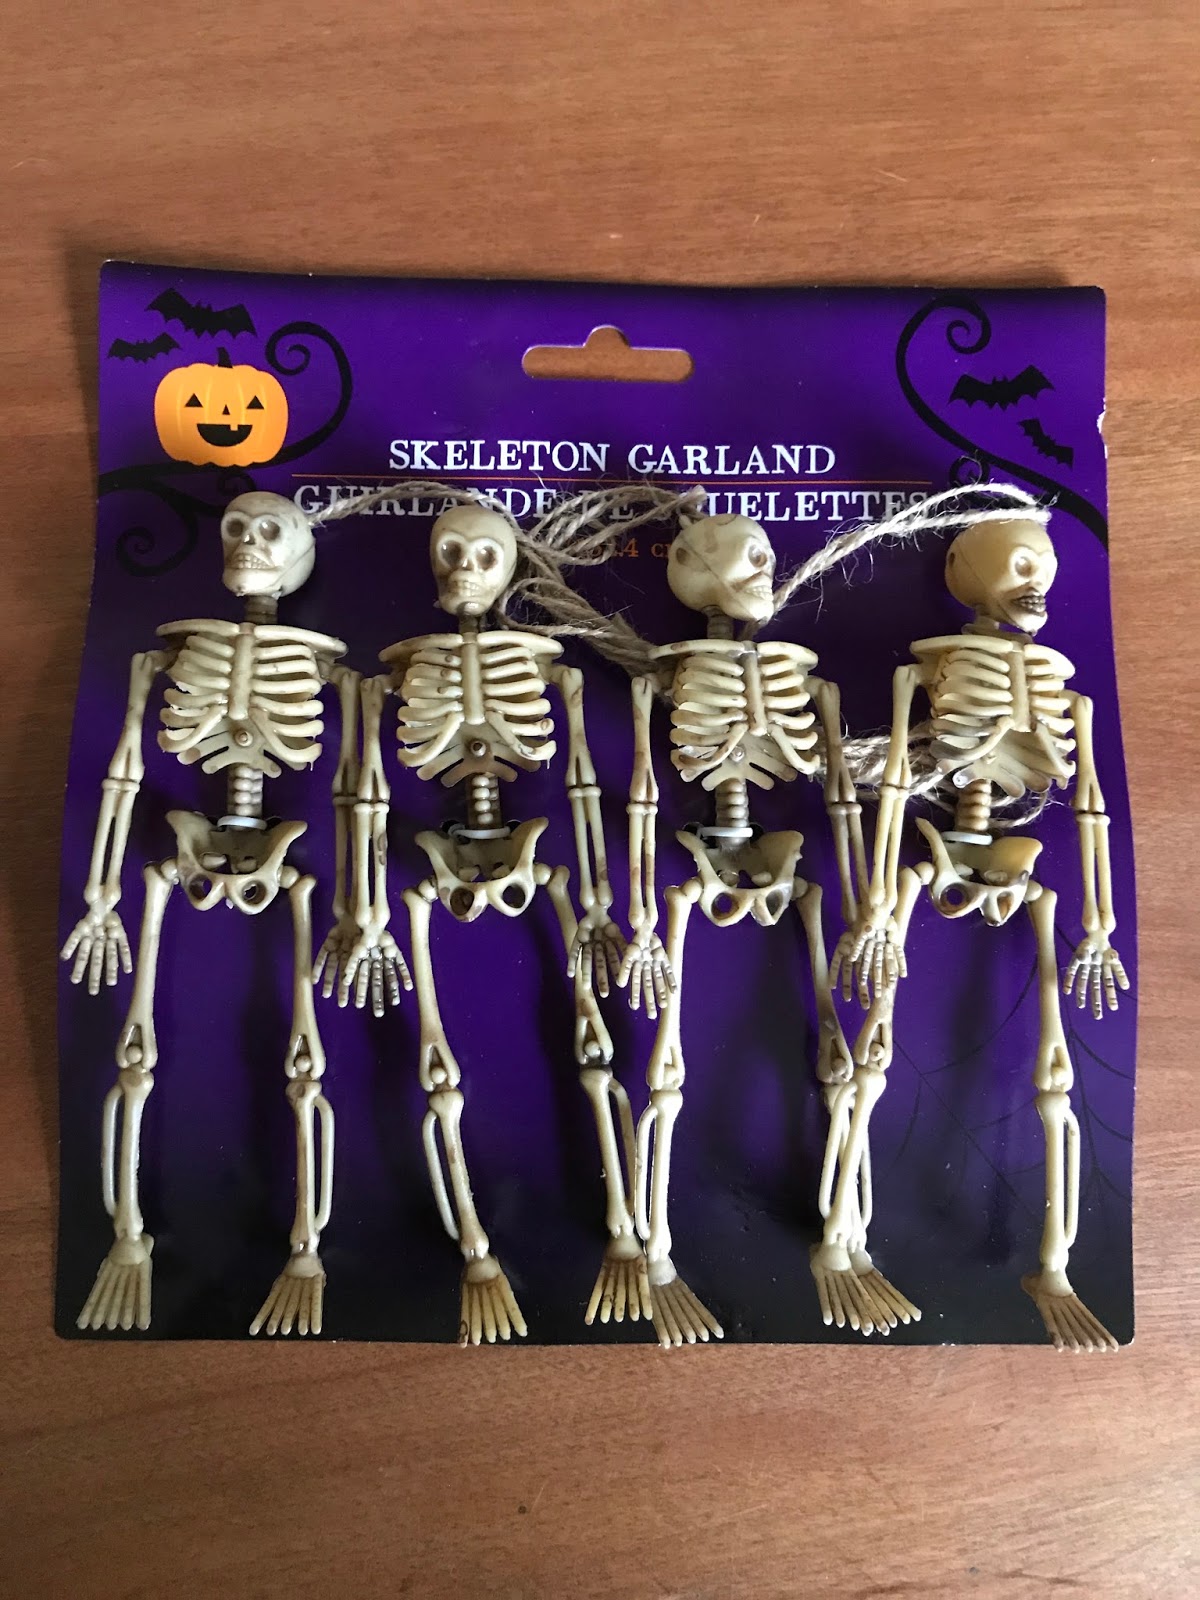
    Happily, I found a skeleton Halloween garland that looked like it would suit the purpose perfectly.
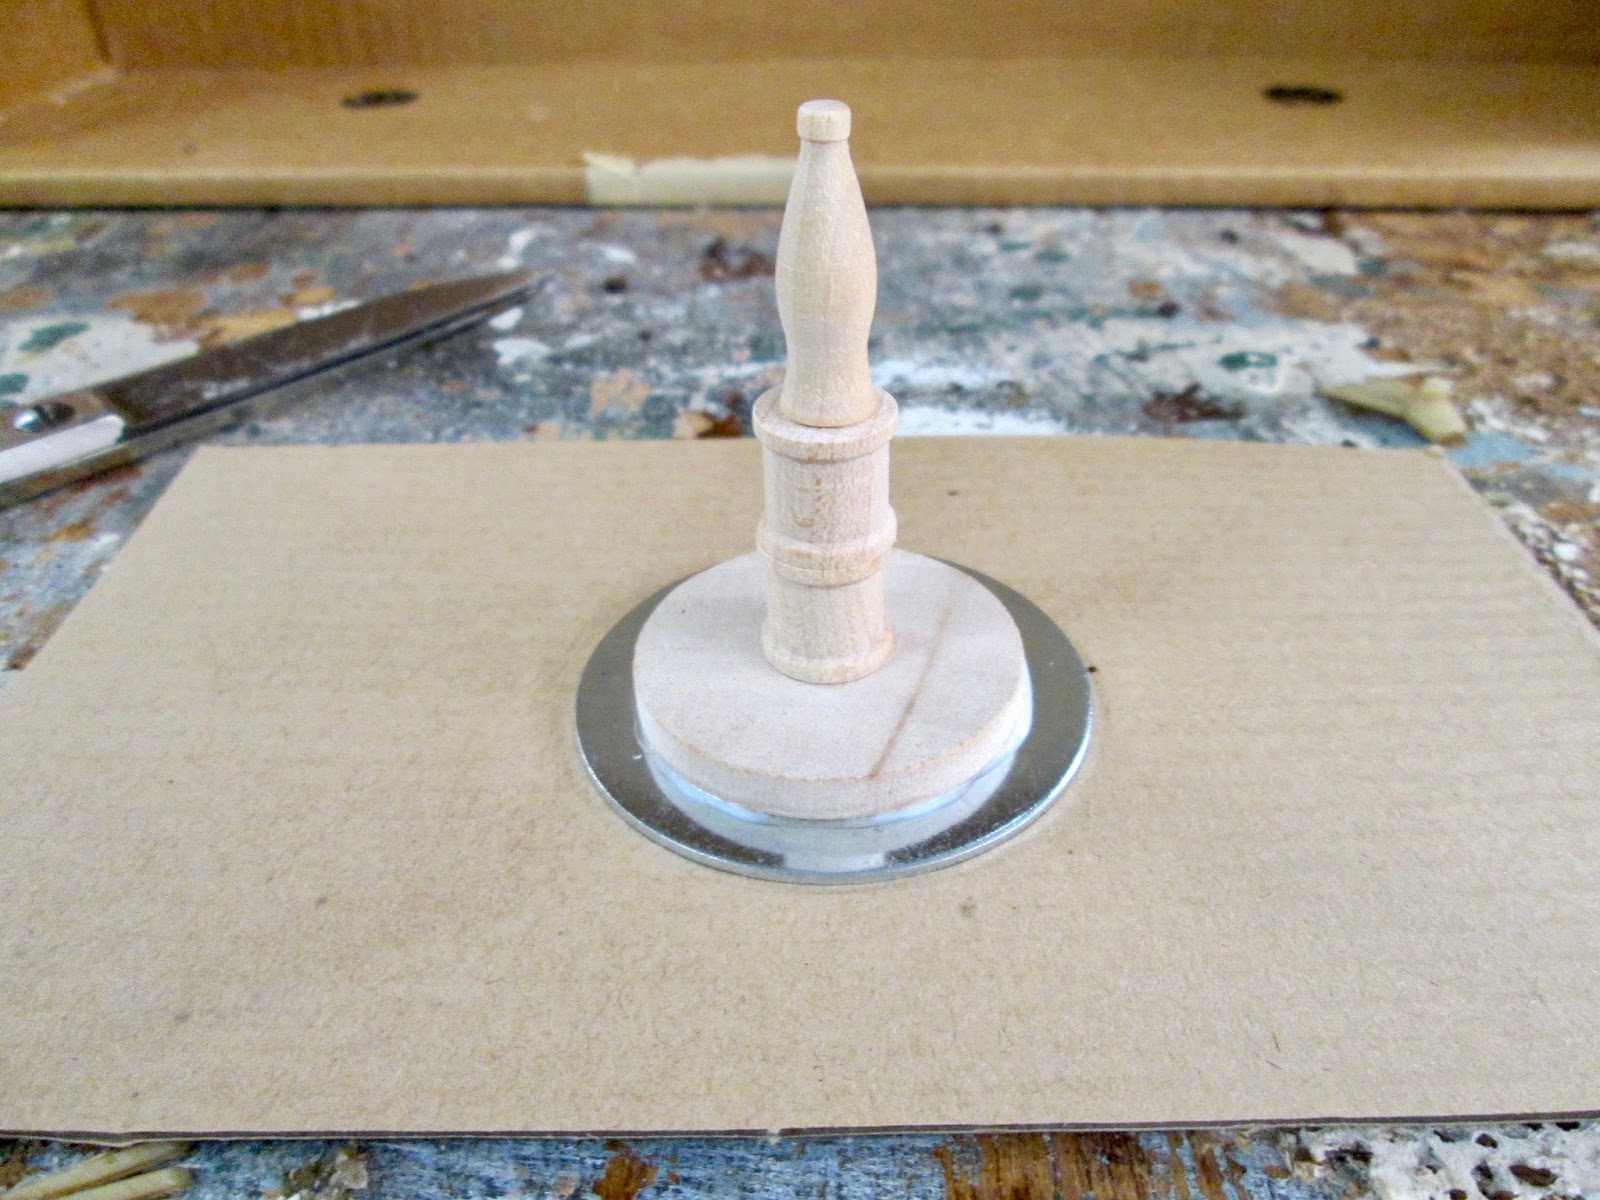
   But, before I built the wheel, I wanted to make the central axle.  So I dug through my wood bits box, and found some pieces I thought would work; a disc, a couple small spools, and a small soda bottle shape.  I glued those in a stack on a 2" fender washer.
    I then cut off the skeletons' arms and legs, and then cut the feet of the legs.    Next, I hot-glued the legs to a 1" fender washer, and then hot-glued the arms around the outer edge.
      I decided the center needed some sort of cover piece,  so I cut one of the ribcages in half, and glued that to the center.  I then did a test fit of the two parts.
      Happy with the fit, I used some of the string that came with the garland to make some lashings around the bone junctures, where the central spokes met the outer rim bones. I then sprayed the parts with flat black primer.  And, as seen in the photo below, I began drybryushing the central axle with some aged wood colors.
          It was just a matter of finishing painting everything, and then fitting the two pieces together.
Shown with a 28mm Reaper figure for scale.
    I'm happy with how the project turned out.  Since this is a scenery piece that will probably only ever be used for this scenario, I didn't put a lot of effort into it.   Still, for a quick job, I think it looks pretty good.

Wednesday, August 30, 2017

Ghost Archipelago Skull Rock Terrain From Dollar Tree Halloween Decor

   This past week my local Dollar Tree started putting their Halloween decorations on the shelves, and I grabbed one of their plastic skulls to make a skull-shaped rock terrain piece for Ghost Archipelago.
     I began by slicing off part of the lower jaw at an angle, so the skull would sit more upright and less leaned back.
     I then hot-glued it to a CD.
     I also hot glued a bit of pink foam scrap under the back overhang so it wouldn't look quite so unbalanced.
     I then sprayed it with flat black primer; and when that was dry, I sprayed it with stone texture spray paint.
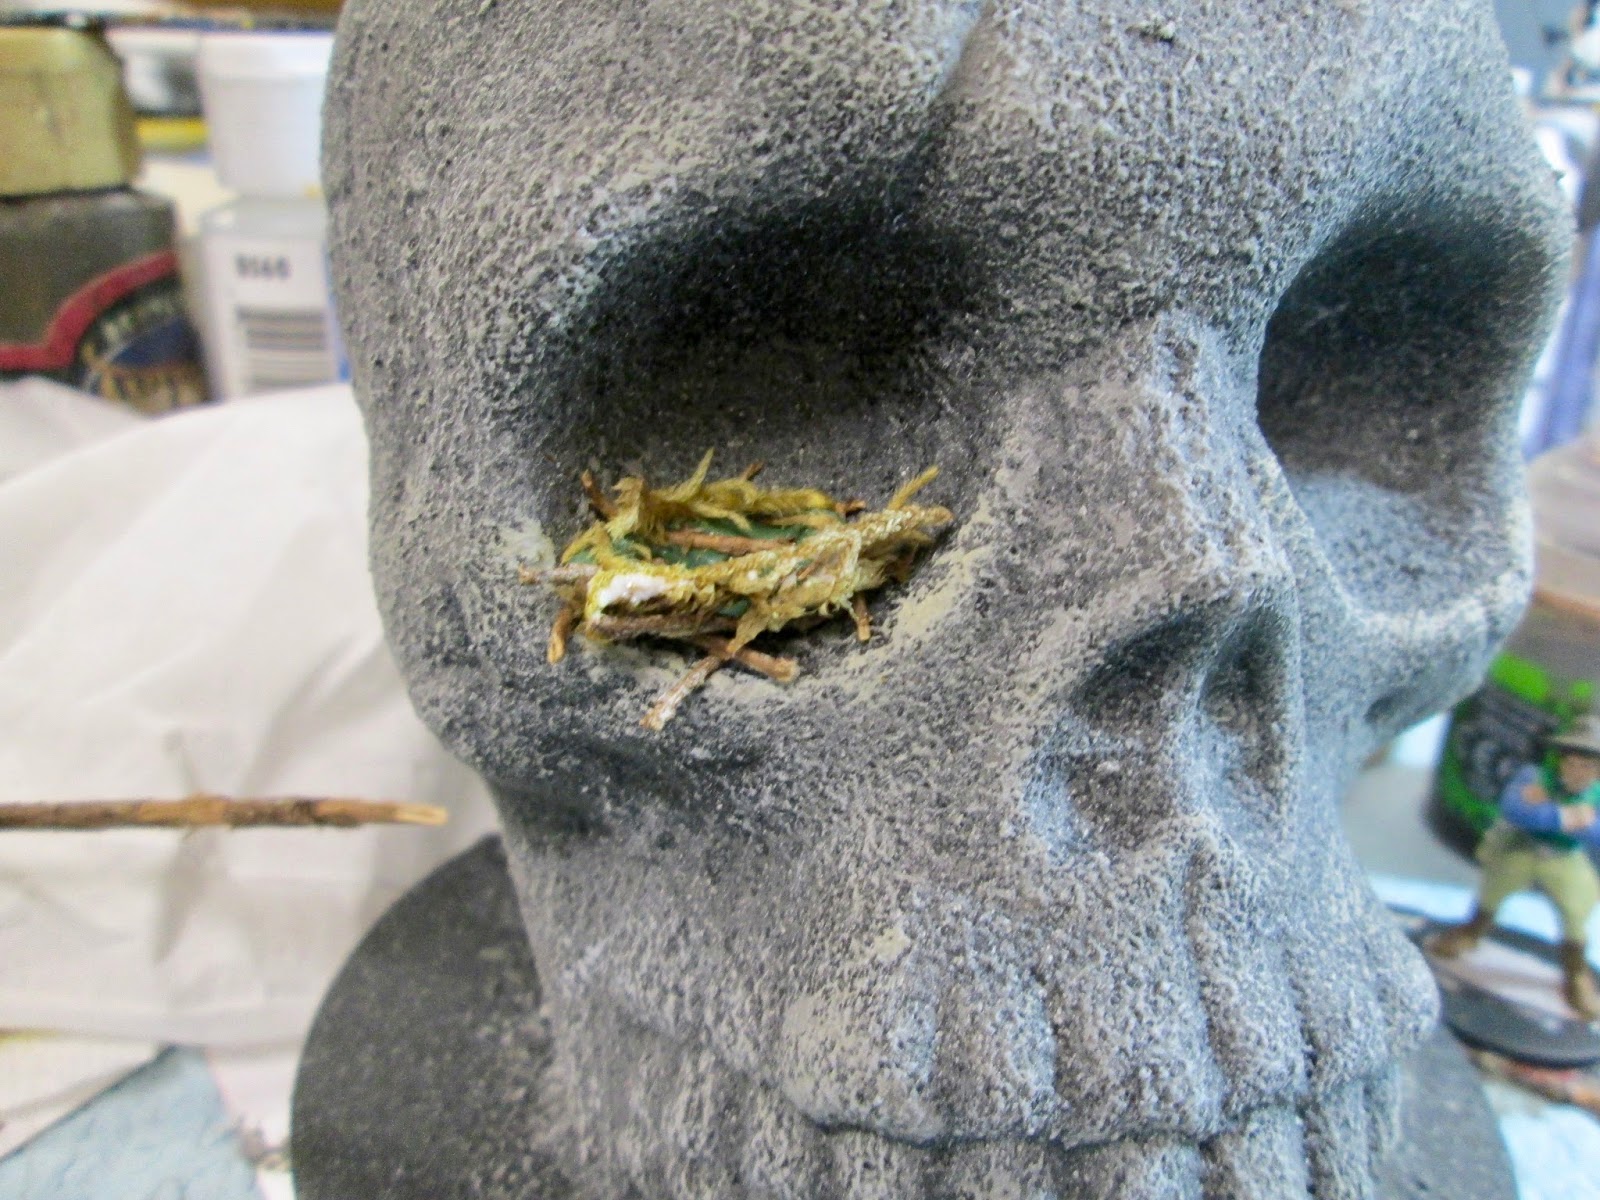
     When the stone texture coat was dry,  I drybrushed the skull with various light grays.   When the drybrushing was dry, I used a little green stuff, some small twigs, and some spanish moss to make a little bird nest to sit in one of the eye sockets.
     I then hot glued various plastic aquarium plants onto the base.
     After that,  I flocked the base and added some more clump foliage and some grass tufts.    Finally, I sprayed it with some Testor's Dullcote matte spray paint.
Shown with a 28mm Reaper pirate figure for scale


     I'm very pleased with how this turned out!   I'm thinking I may like to make some smaller ones as well.